
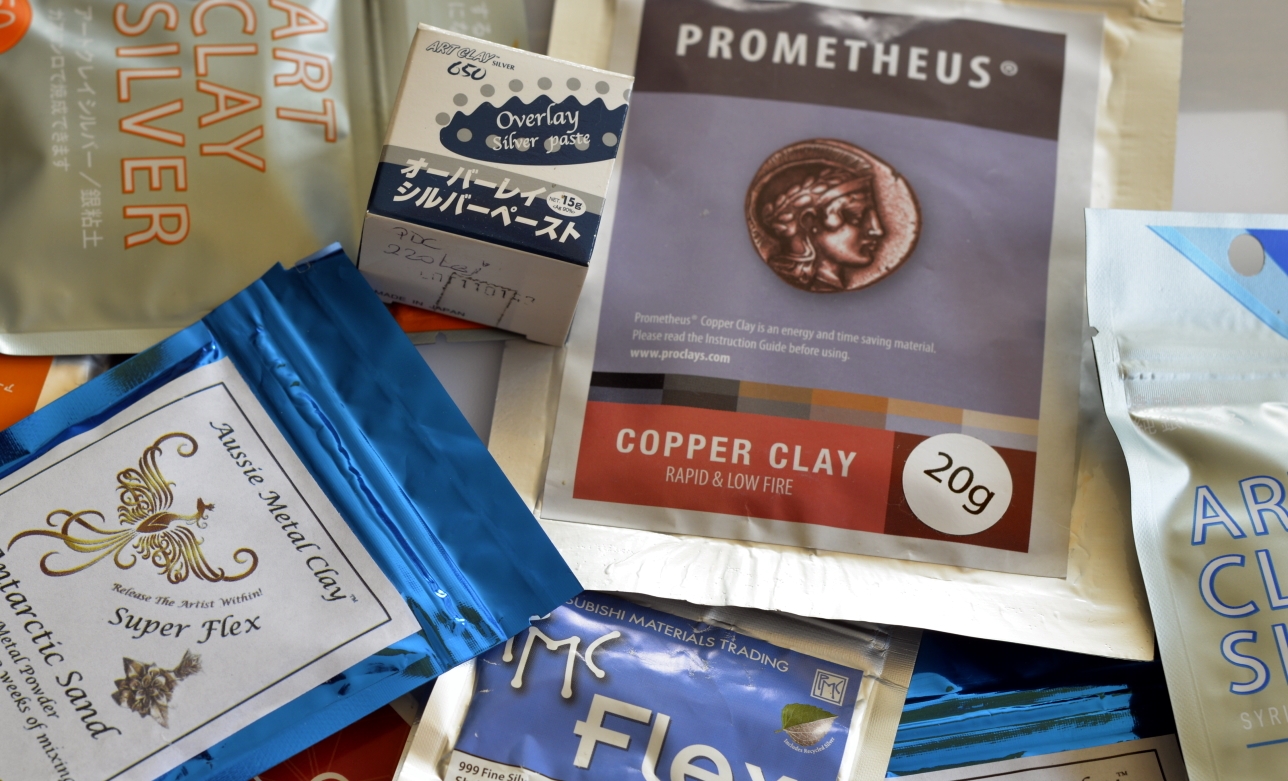
What kind of metal clay to choose
When we try something for the first time, there is that fear, which is normal in fact, not to spoil or waste. That's why many beginners are thinking of buying for testing the precious metal version: bronze. Well, this is not the best choice. Bronze is composed of alloys such as copper and tin, which in the process of combustion oxidize again to obtain a sintering complete it is necessary to avoid it. Therefore, bronze and most metals in the form of clay, precious, are burned in a special furnace, in two stages and in an environment that does not allow them to oxidize - activated carbon. Pretty complicated for a beginner, right?
Our recommendation is to start with pure silver. a 7g package or 10 g it is enough to create a few pendants or pairs of earrings (between 2 and 6). Pure silver is easy to shape, does not oxidize during firing and does not require the use of a special oven, giving you the chance to experiment and successfully create the first piece of jewelry.
How it works
The metal in the form of clay, fresh can be rolled, molded, sculpted, textured and extruded. To cut raw metal clay, you can use cake tins, a hobby knife, a steel blade or a professional needle. If we talk about textures, they are everywhere: in nature, around the house, among children's toys and so on. So, you can use almost anything: a dry leaf found on the sidewalk, the sole of a shoe, the texture of the wallpaper, your own fingerprint, etc. Don't forget to wash the surfaces before applying them. (get inspired here)
An important rule when handling clay is that all surfaces that come in contact with it should be easily lubricated. You can use the professional product CoolSlip or the olive oil, from your personal kitchen. Apply a little on your hands, roller, work surface but also on your textures. If the texture is deep, use a brush to reach the depths. Do not use too much oil, too much oil affects the clay.

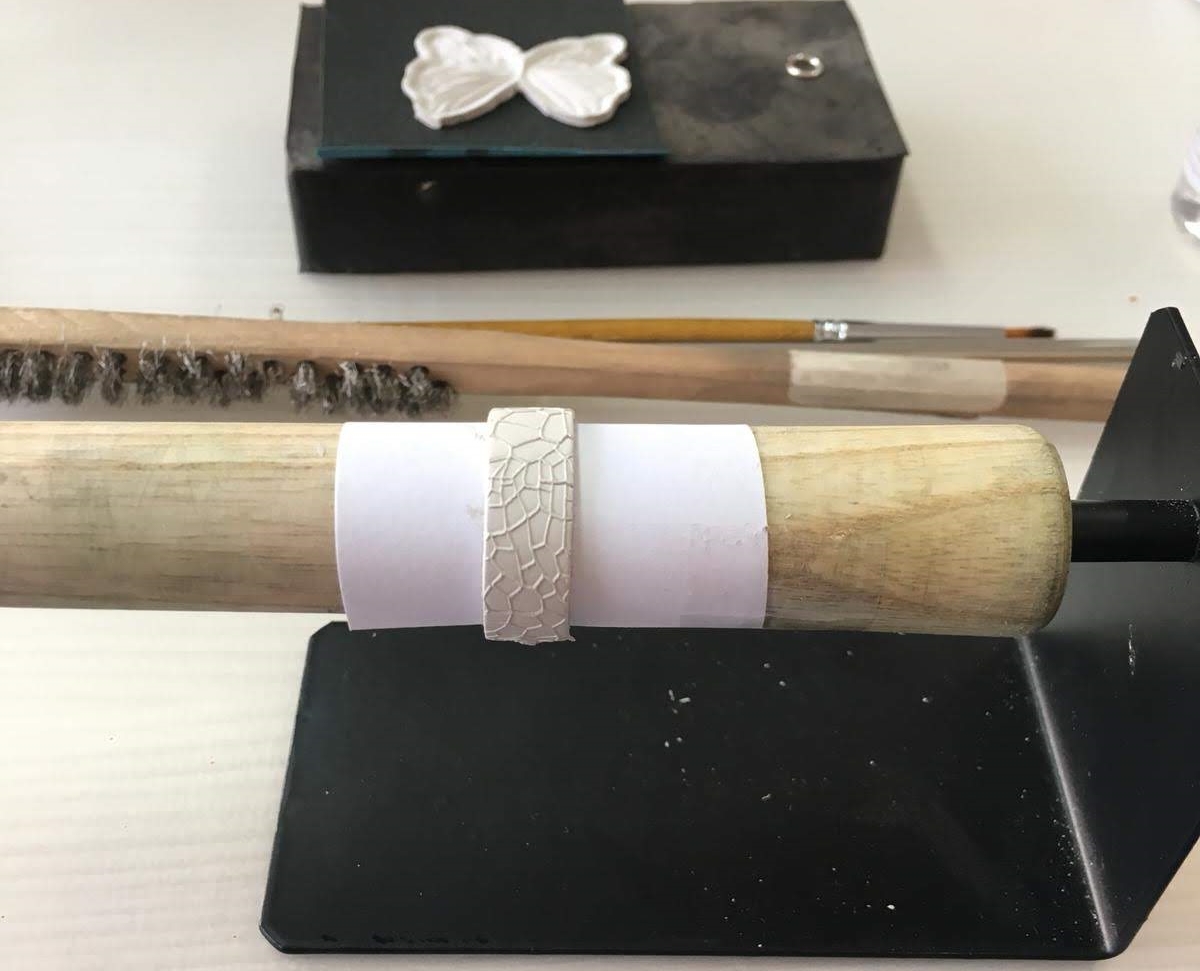
Drying the clay
Metal clay - metal in the form of clay can dry at room temperature. Depending on the thickness of the part or component, drying at room temperature can take anywhere from a few hours to a full day. You can resort to this procedure, if you are not in a hurry. Drying can be accelerated if we place the piece in a dehydrator or with the help of hot air from a hair dryer.
To dry the piece, it is important to know the drying temperature recommended by the manufacturer and not to exceed it. The average drying temperature is 80 ° C. A completely dry piece, guarantees a finish and firing without incident.
How do we know if the piece is dry? Using tweezers, lift the piece from the warm surface, where it was dry, and place it on a mirror. If steam is observed around it, leave it to dry.
Rehydration
Working with metal clay, you will find that it dries quite quickly, if you touch it with your hands or shape it with your fingers or tools. Normally, the metallic clay should have a slightly glossy and hydrated appearance. During repeated modeling, it may lose its shine, a sign that it has started to dry and will look matte and with fine cracks.
Here's how to rehydrate:
Place the piece of metal clay semi-dry on a piece of food foil, with which it is covered, and flattened to a thickness as small as possible, using your fingers or a rolling pin. Add a little demineralized water (a few puffs, using a spray bottle) on the surface of the metal clay and massage it into the foil, forming a ball, until the surface becomes shiny again.


Reconstitution of completely dry parts
Whether you don't like how it turned out or you simply don't want to burn the created piece, metal clay it can be rehydrated to shape again or use for another project. In other words: nothing is lost, everything is recovered!
Here's how: Wet the completely dry part, on one side and on the other with 2-3 puffs of demineralized water, until you see a film of water on the surface of the part. Then wrap the wet piece in foil. Leave for 5-10 minutes or more, if the piece is very large. Check the flexibility of the part from time to time and, if necessary, add a little more water. Then it is massaged in the shape of a ball (in the foil, we do not touch it with our hands) and we notice that it has that luster. In case it is not completely hydrated, we take the step earlier: Rehydration
Finishing before firing
Finishing the parts is very important before burning. The better a piece is finished, the less we will have to intervene after burning it. Finishing can be done with sandpaper, abrasive sponge, file, wet wipe brush or wet finger. Any surface cracks in the metal clay are corrected by applying metal in the form of a paste.
For finishing, the most used are abrasive sponges: red, blue and green. We recommend using them in this order.
If you choose to finish the piece using the wet napkin, the brush or even the wet finger, you must keep in mind that the added water will partially rehydrate the piece. Therefore, whenever you rehydrate or apply the paste, dry it well before burning.

Correct firing
Before burning the piece, make sure it is perfectly dry. The part must also be well finished and the joints between the components must be solid. It is also necessary to know the temperature and method of combustion, indicated by the manufacturer.
Pure silver (Art Clay Silver) and certain metals from copper they can be burned both with a burner and in the ceramic kiln. Burning with a burner is an efficient method but also the least expensive for beginners. The pieces of pure silver, to be burned with the burner, should not exceed the weight of 10 g and the diameter of 4 cm. (Read more here)
Careful! Please read on as well Home safety measures
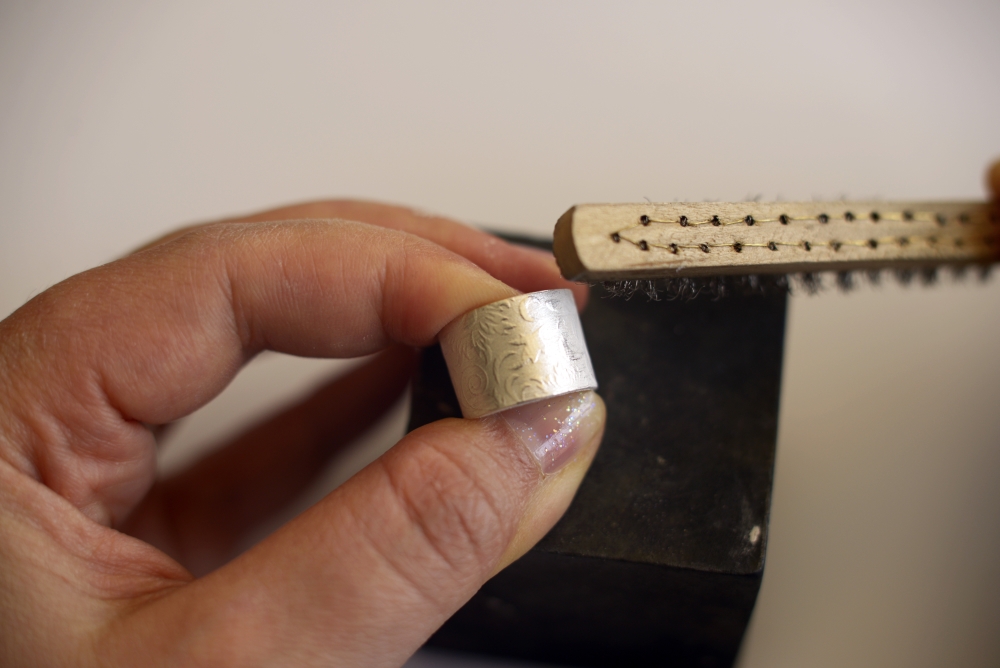
Polishing after firing
After the piece is fired, allow it to cool then polish.
First use a brush with brass or steel bristles to brush the piece. This process polishes the metal surface and thus shines. After that you can polish using the three abrasive sponges in order, Disc or batteries abrasives with high granulation up to 12000, canvas si polishing creams, both manually and using a micromotor such as Dremel.
Skating / oxidation of the part
There are several solutions through which we can obtain the patina or antique effect. The least toxic and easy to apply is the sulfur-based one. The most beautiful effect can be seen on pure silver. You can get a variety of colors, from yellow to turquoise, deep purple to black.
To apply the patina, first brush the burnt part well and wash with soap and water. Prepare a vessel (glass or ceramic) with a little warm water, in which 2-3 drops of solution are applied on sulfur base. Insert the piece, hung in a paper clip. After 2 seconds you can see the effect and if you want to get a darker shade, reintroduce it in the solution.
As a rule, the hotter the water, the faster the oxidation will occur. This means that it will take very little time to go through shades and will reach total oxidation (black), quite quickly.
Creating Contrast
By applying the patina, most of the time we want to emphasize the texture of the metal or the volume of the piece. To obtain this contrast we need a canvas or a abrasive sponge (1000-2000) with which to polish the areas we want to be highlighted, without oxide. For a brighter glow, after this step you can continue with polishing the piece.